
How Can We Help?
Internal VPN Access
Step 1: Installing the VPN
To install the VPN, open your preferred browser, then in the address bar type: vpn-internal.se.edu
After that you will login with your SE credentials. You will then see a screen similar to the one below. You will then select the link that fits your device. For Windows this will be the Windows 64-bit, and for Mac select the Mac option.
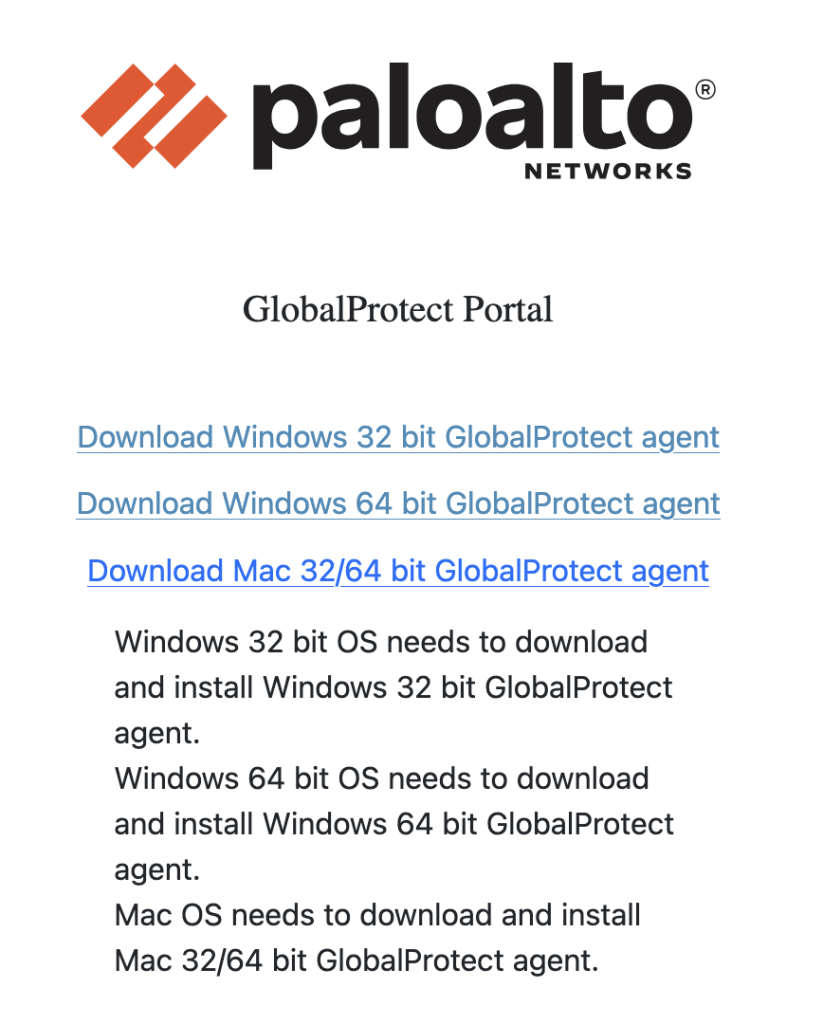
Clicking that link will start a download of the installer package. Once it is done, just launch the installer, and click through all of the options leaving everything at their default.
Once installed you will have a new tray icon that looks like a globe. On Windows this will be at the bottom left, and on Mac it will be at the top left.
Step 2: Connecting to the VPN
Once you have the tray icon you can now click it to see the connection status, at the moment you won’t be connected. Instead you will see a blue link that says get started. After pressing that link you will have a text field titled “Portal”. In that text field you just need to enter: vpn-internal.se.edu
Once that’s entered press the blue connect button below to connect to the VPN. It may ask you to sign in with your SE Credentials again, and after that you will have access to the VPN.